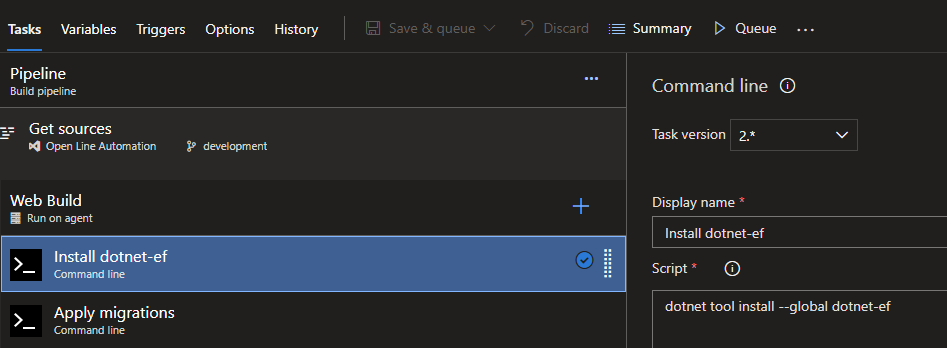
Applying migrations in an Azure Devops pipelines seems pretty straightforward. Simply add to two Command Line tasks when using Classic Pipelines:
- dotnet tool install –global dotnet-ef
- dotnet ef database update –project “$(Build.SourcesDirectory)/Web/Api.csproj” –startup-project “$(Build.SourcesDirectory)/Web/Api.csproj” –context ApplicationDbContext
When running this against an app that uses Azure SQL with Entra Id, you’ll get unauthorized errors which makes. Now comes the hard part, there is no out of the box way to authenticate dotnet ef database update to use Entry Id. The steps to get this working are:
- Create an app registration for your sql database and generate a secret. Make note of the appid and app secret, you’ll need this later.
- Create a sql contained user for this like following. Important: [app-name] must match the Display Name of the App Registration or the Service Principal name.
-- Switch to the target database
USE [your-database-name];
GO
-- Create a user for the App Registration
CREATE USER [app-name] FROM EXTERNAL PROVIDER;
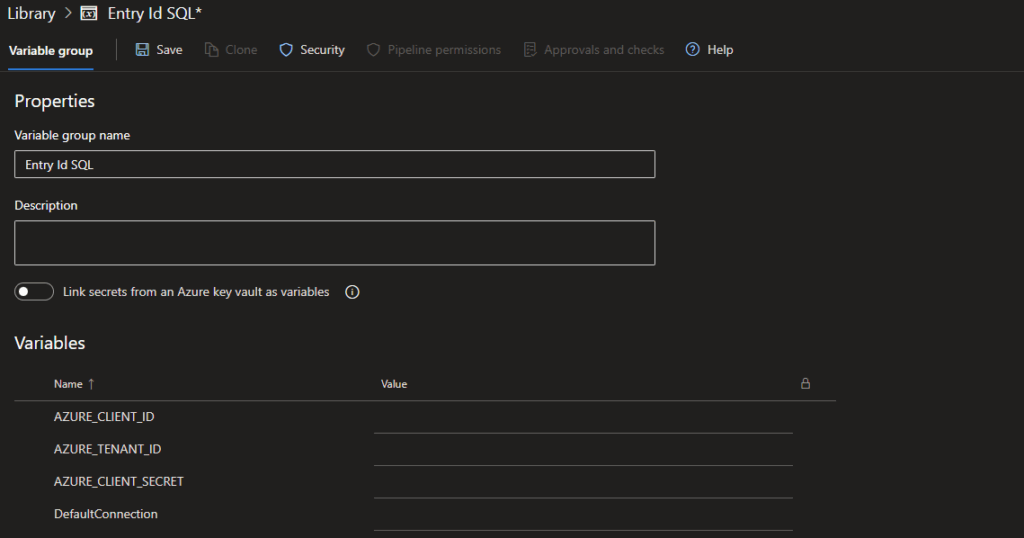
GONow go to Azure Devops and open Pipelines – Library and create a variable group. Fill this as shown below, DefaultConnection is the name of the environment variable used by dotnet-ef to connect to the database. Get the connection string from the Connection String pane from your database in Azure. Remove any Authentication entry from this connection string as this will be set elsewhere. Server=tcp:sqltest.database.windows.net,1433;Database=db-test; Connection Timeout=30; TrustServerCertificate=False; Encrypt=True; MultipleActiveResultSets=False; Persist Security Info=False;
When the variable group is created, click Pipeline permissions and set it as following. You can also restrict to just your pipeline.

Now we need add a component to our app (an api in my case) which overrides how the DbContext is set. Add a file named ApplicationDbContextFactory and add the following code
public class ApplicationDbContextFactory : IDesignTimeDbContextFactory<ApplicationDbContext>
{
public ApplicationDbContext CreateDbContext(string[] args)
{
var optionsBuilder = new DbContextOptionsBuilder<ApplicationDbContext>();
var connectionString = Environment.GetEnvironmentVariable("DefaultConnection");
if (string.IsNullOrEmpty(connectionString))
{
throw new InvalidOperationException("DefaultConnection environment variable is not set.");
}
string clientid = Environment.GetEnvironmentVariable("AZURE_CLIENT_ID");
string secret = Environment.GetEnvironmentVariable("AZURE_CLIENT_SECRET");
string tenantid = Environment.GetEnvironmentVariable("AZURE_TENANT_ID");
string token = await Azure.ActiveDirectory.AzureAD.GetAccessToken(clientId, appSecret, scope, tenantId).GetAwaiter().GetResult();
var connection = new SqlConnection(connectionString)
{
AccessToken = token
};
optionsBuilder.UseSqlServer(connection);
return new ApplicationDbContext(optionsBuilder.Options);
}
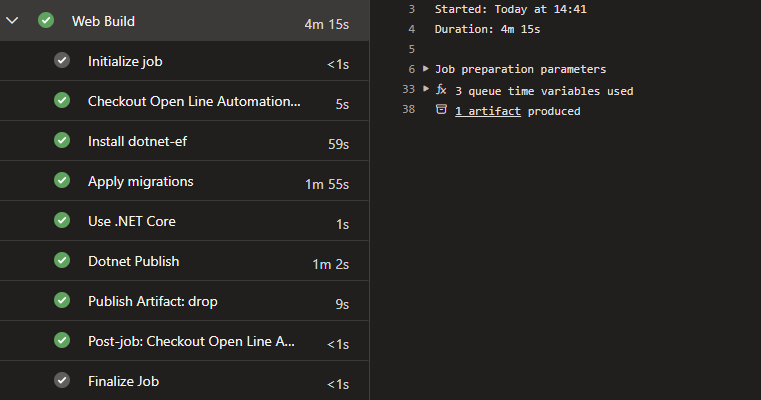
}Now, after a lot of troubleshooting and testing, we finally get