

- Aspire Part 1. How to setup Aspire to use a local SQL Server container
- Aspire Part 2. How to configure your app to use the SQL container.
Aspire in an incredible powerful tool to faster start and debug your apps during development. However, to enable your devs to leverage a local SQL Server instance and have it start with Aspire, you need to setup a SQL Server running in a container.
The first thing you need to do is install Docker Desktop. If you’re running on a virtual platform (vmware), follow this guide to install docker. https://blog.yellow-cab.nl/2025/04/10/how-to-run-docker-desktop-inside-a-vmware-windows-vm/
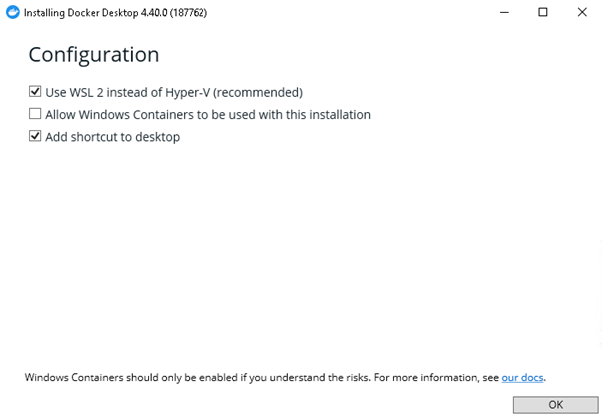
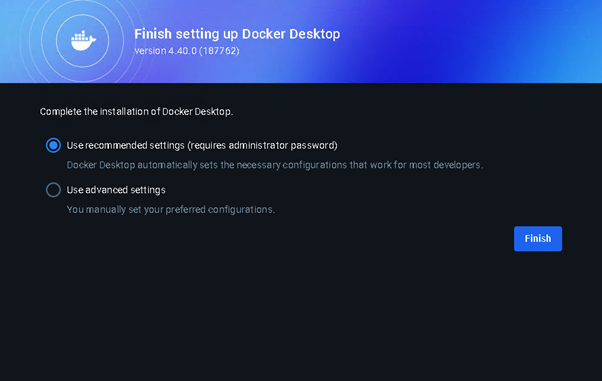
Install Docker Desktop
The docker installation is pretty straight forward. Download docker desktop from https://www.docker.com/products/docker-desktop
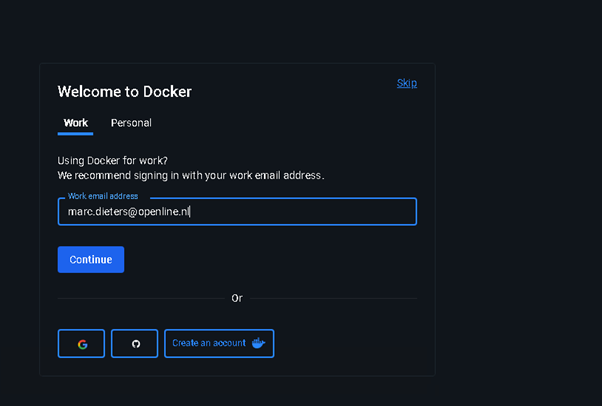
Register or skip. It doesn’t matter for our usecase.
Install Aspire
Open the Visual Studio installer and select the following components

To do this from a command line, run the following:
dotnet workload install aspire
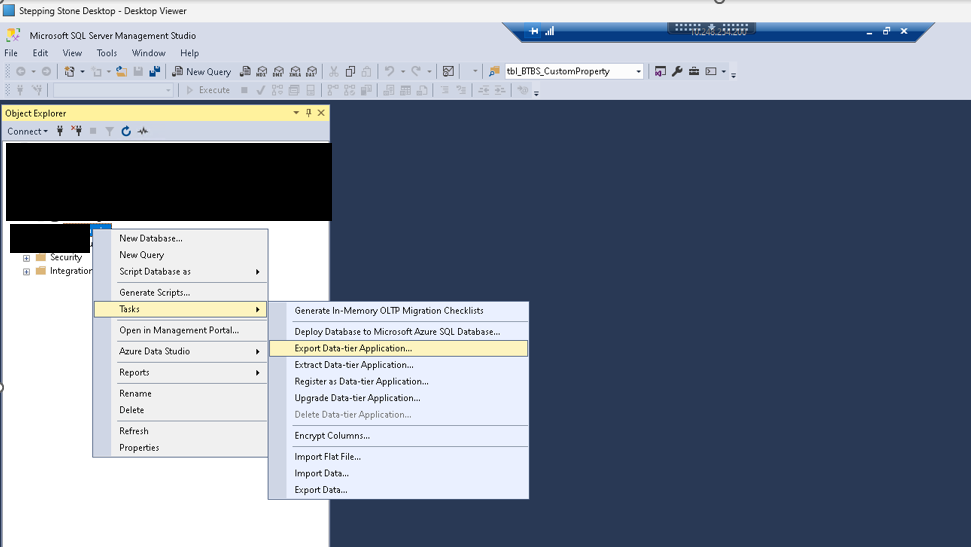
Export the database
In my specific situation, my production databases are running in Azure. Azure doesn’t allow exporting database to the traditional .bak file but it exports to .bacpac files. To export a database, do the following:
Open SSMS and right click on the database you want to export, and select Tasks – Export Data-tier application
Enter a name for the export file.

Setting up Aspire
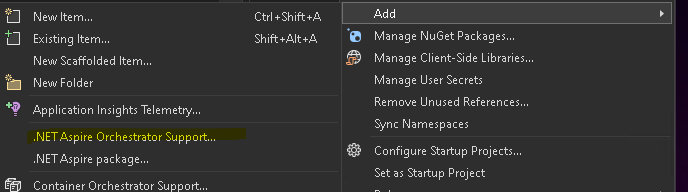
Right-click on the project you want to add to aspire and select Add – .NET Aspire Orchestration Support
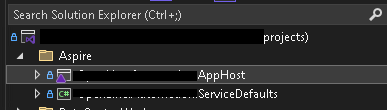
This will create two projects, open the AppHost project and open Program.cs
Setting up Aspire to import the database during container start up
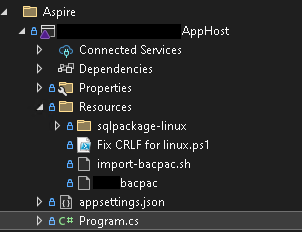
Aspire doesn’t support this out of the box so need to create a custom script for achieve this. Create and add the following resources. These resources are explained further in this post or can be downloaded from GitHub (coming soon):
- Create a solution folder: Resources
- Add the exported sql database (.bacpac)
- Add the linux shell script (import-bacpac.sh) which performs the import.
- Add the Powershell script (Fix CRLF for Linux.ps1) which is used to fix the CRLF used by Windows. Linux isnt compatible with CRLF and uses LF’s.
- Download and extract the linux sqlpackage libraries from here: https://learn.microsoft.com/en-us/sql/tools/sqlpackage/sqlpackage-download?view=sql-server-ver16#installation-cross-platform. Look for Installation, file download (alternative)
Add the following code to program.cs
var sqlServer = builder.AddSqlServer("sqlserver")
  .WithDataVolume()
  .WithBindMount("Resources/db.bacpac", "/var/opt/mssql/backup/db.bacpac") // Mount .bacpac
  .WithBindMount("Resources/sqlpackage-linux", "/sqlpackage") // Mount sqlpackage
  .WithBindMount("Resources/import-bacpac.sh", "/sqlpackage/import-bacpac.sh", isReadOnly: false)
  .WithEntrypoint("/sqlpackage/import-bacpac.sh")
  .WithEnvironment("ACCEPT_EULA", "Y")
  .WithLifetime(ContainerLifetime.Persistent);
Explanation of the code:
- WithDataVolume: makes sure a persistent volume is created for the docker container so data isn’t lost when the container restarts.
- WithBindMount: creates mount points in the container so the required scripts and binaries are available.
- WithEntryPoint: this is the startup command for the container to run first.
- WithEnvironment: this is required for MSSQL to install/configure without user intervention.
- WithLifeTime: this tells Aspire to leave the container running even when Aspire stops. MSSQL takes quite a while to start.
Import-bacpac.sh
#!/bin/bash
echo "Starting SQL Server in the background..."
/opt/mssql/bin/sqlservr &
SQL_PID=$!

# Wait for SQL Server to be ready (60 seconds)
echo "Waiting for SQL Server to start (60 seconds)..."
sleep 60
echo "SQL Server started"

# Run sqlpackage to import .bacpac
echo "Starting .bacpac import..."
/sqlpackage/sqlpackage \
  /Action:Import \
  /SourceFile:/var/opt/mssql/backup/db.bacpac \
  /TargetServerName:localhost \
  /TargetDatabaseName:db-master \
  /TargetUser:sa \
  /TargetPassword:"$SA_PASSWORD" \
  /TargetEncryptConnection:False || {
  echo "Error: sqlpackage import failed"
}
# Start SQL Server
echo "Bringing SQL Server to foreground..."
wait $SQL_PID
Fix CRLF for Linux.ps1
(Get-Content "C:\Dev\AppHost\Resources\import-bacpac.sh" -Raw) -replace "`r`n", "`n" | Set-Content "C:\Dev\AppHost\Resources\import-bacpac.sh" -NoNewlineThis Powershell script in only needed if you create or edit the shell script (import-bacpac.sh). So before starting Aspire AppHost after editing the SH script, run the Powershell script to fix the line feeds
Now set the Aspire AppHost as the startup project and run. Aspire will create and start the container. When it’s started, the database is imported.
That’s it, you now a copy of your production database available for development. In the next post, I’ll show you how you can use this database in other apps in your development pipeline
Pingback: Aspire Part 2. How to configure your app to use the SQL container. – Stuff I don't want to forget :)